

Did you know you can build yourself a solid welding table at home? Yes, it is possible. You no longer have to deal with uneven surfaces, shaky stands, and fatiguing work positions.
All you need to do is get the right material and pick an appropriate welding table design to put together a DIY welding table. The table will offer you a stable platform, helping you improve your welding accuracy, safety, and efficiency.
All in your budget and according to your workspace. So, if you are a hobbyist or even a professional, build a reliable welding workbench at home for amazing welding outcomes.
Why Build Your Own Welding Table?
A welding table is more than just a flat steel surface elevated by four legs. It is your reference surface, clamping station, assembly area, and fabrication surface, everything in just one table.
1. You Save Plenty of Money
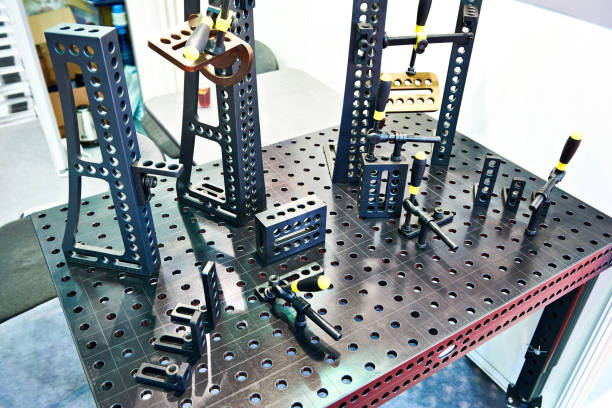
Commercial welding tables can be very expensive. Some can cost even thousands of dollars. These high-end welding tables are equipped with fixture holes and precision surfaces. However, home welders can’t really afford them.
If you try building your own welding table, you will only be spending 20-50% of the real price. You will still be enjoying a sturdy work surface with all the features you need.
You can further plan the budget by spreading the cost over a period of time. Many welders who make their own welding tables tend to buy the materials gradually.
You can buy the frame and shelves in one month and then later on get the casters and other accessories. This makes assembling the entire DIY welding table flexible, even when you have a limited budget.
2. You Can Customize Every Detail
Not every welding table design fits all workshops. By building a DIY welding table at home, you can choose:
- Table dimensions
- Working height
- Storage options
- Wheel placement
- Clamp locations
- Shelf configuration
Let’s suppose you want to weld motorcycle parts. For this, you need a compact table.
However, if you are working on gates and trailers, you will need a much larger surface for welding.
At times, you would need a table to fit well in your garage. Let’s suppose you only have one free corner suitable for a rectangular table rather than a square one.
Furthermore, there are times when you are working on longer projects, like railings and handrails, for which you need narrow tables. So, the welding tables keep changing depending on your needs.
3. Better Organization and Workflow
Let’s see an example of welding a metal gate. The process requires a lot of tools. If you don’t have a properly designed welding workbench, you have to keep pausing to grab clamps, squares, grinders, and measuring tapes.
However, having a dedicated welding space can help keep your tools organized. This helps keep everything within reach. You don’t have to waste time searching for clamps and measuring tools. As a result, you become productive by utilising your time for welding rather than wasting it on setting up.
4. Greater Project Flexibility
When you design a welding table according to your needs, you get the ability to handle a wider range of projects. You won’t face any trouble building:
- Utility trailers
- BBQ smokers
- Vehicle modifications
- Metal furniture
- Decorative steel art
- Repair projects
Materials Needed for a Home-Built Welding Table
Now that you know the benefits of making a welding table at home, let’s break down all the essential materials required for the task. By selecting the most appropriate materials, you can avoid many problems that might arise later on.
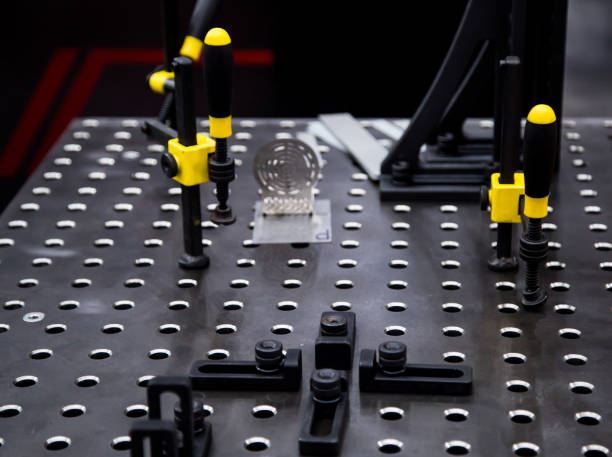
1. Steel Top Plate
The most important part of a welding machine is the tabletop. The experienced welders suggest:
- 1/4-inch steel for light hobby work
- 3/8-inch steel for most home shops
- 1/2-inch steel for heavy-duty fabrication
An ideal balance would be the 3/8-inch steel. It is cost-effective, not too heavy, and offers good resistance against wrapping. It would be a good choice if you tend to regularly weld 1/8-inch and 1/4-inch tubing.
So, when you are looking for the steel plate, ensure that the plate does not wrap easily. Wrapping can lead to alignment issues, which create a lot of frustration during the welding process. A flatter piece can save your precious time later.
| Steel Thickness | Best For | Durability | Cost |
|---|---|---|---|
| 1/4 inch | Hobby projects & light repairs | Good | Low |
| 3/8 inch | Most home welding shops | Very Good | Medium |
| 1/2 inch | Heavy-duty fabrication | Excellent | High |
2. Frame Material
There is often a lot of consideration given to the tabletop while the frame is ignored. However, the frame is also an important part, as it affects long-term rigidity.
Some ideal options include:
- Square tubing
- Rectangular tubing
- Structural angle iron
- C-channel steel
The most famous choice among welders is the square tubing. You can choose it for the strength it offers while being easy to weld and align.
3. Additional Accessories
There are many useful accessories that welders often skip while building their own table. However, it is far easier to add the upgrades during the construction process rather than trying to refit them later. You can add grounding tabs, vise mounts, clamp storage racks, tool trays, rod holders, and even power strip brackets.
4. Safety Equipment
Accidents at a workshop are a common occurrence because people neglect the importance of protective equipment. If you plan to build a DIY welding table at home, you need proper safety equipment to keep you and your environment away from danger. Hence, you must have a welding helmet, leather gloves, safety glasses, hearing protection, and a fire extinguisher.
Best Home-Built Welding Table Designs
When you have all the necessary equipment ready, you can start selecting an appropriate design for your welding table. The right design is the one that suits your working style.
● Basic Flat-Top Table
The simplest design is the basic flat-to-table that features a solid steel top, four legs, and a lower support frame. It is ideal for beginners, home garages, and general repairs. So, if you are a beginner, this ideal can offer you good value. The simplicity is what makes it a good choice. With fewer parts, it ensures there are fewer chances of construction mistakes.
● Mobile Welding Table
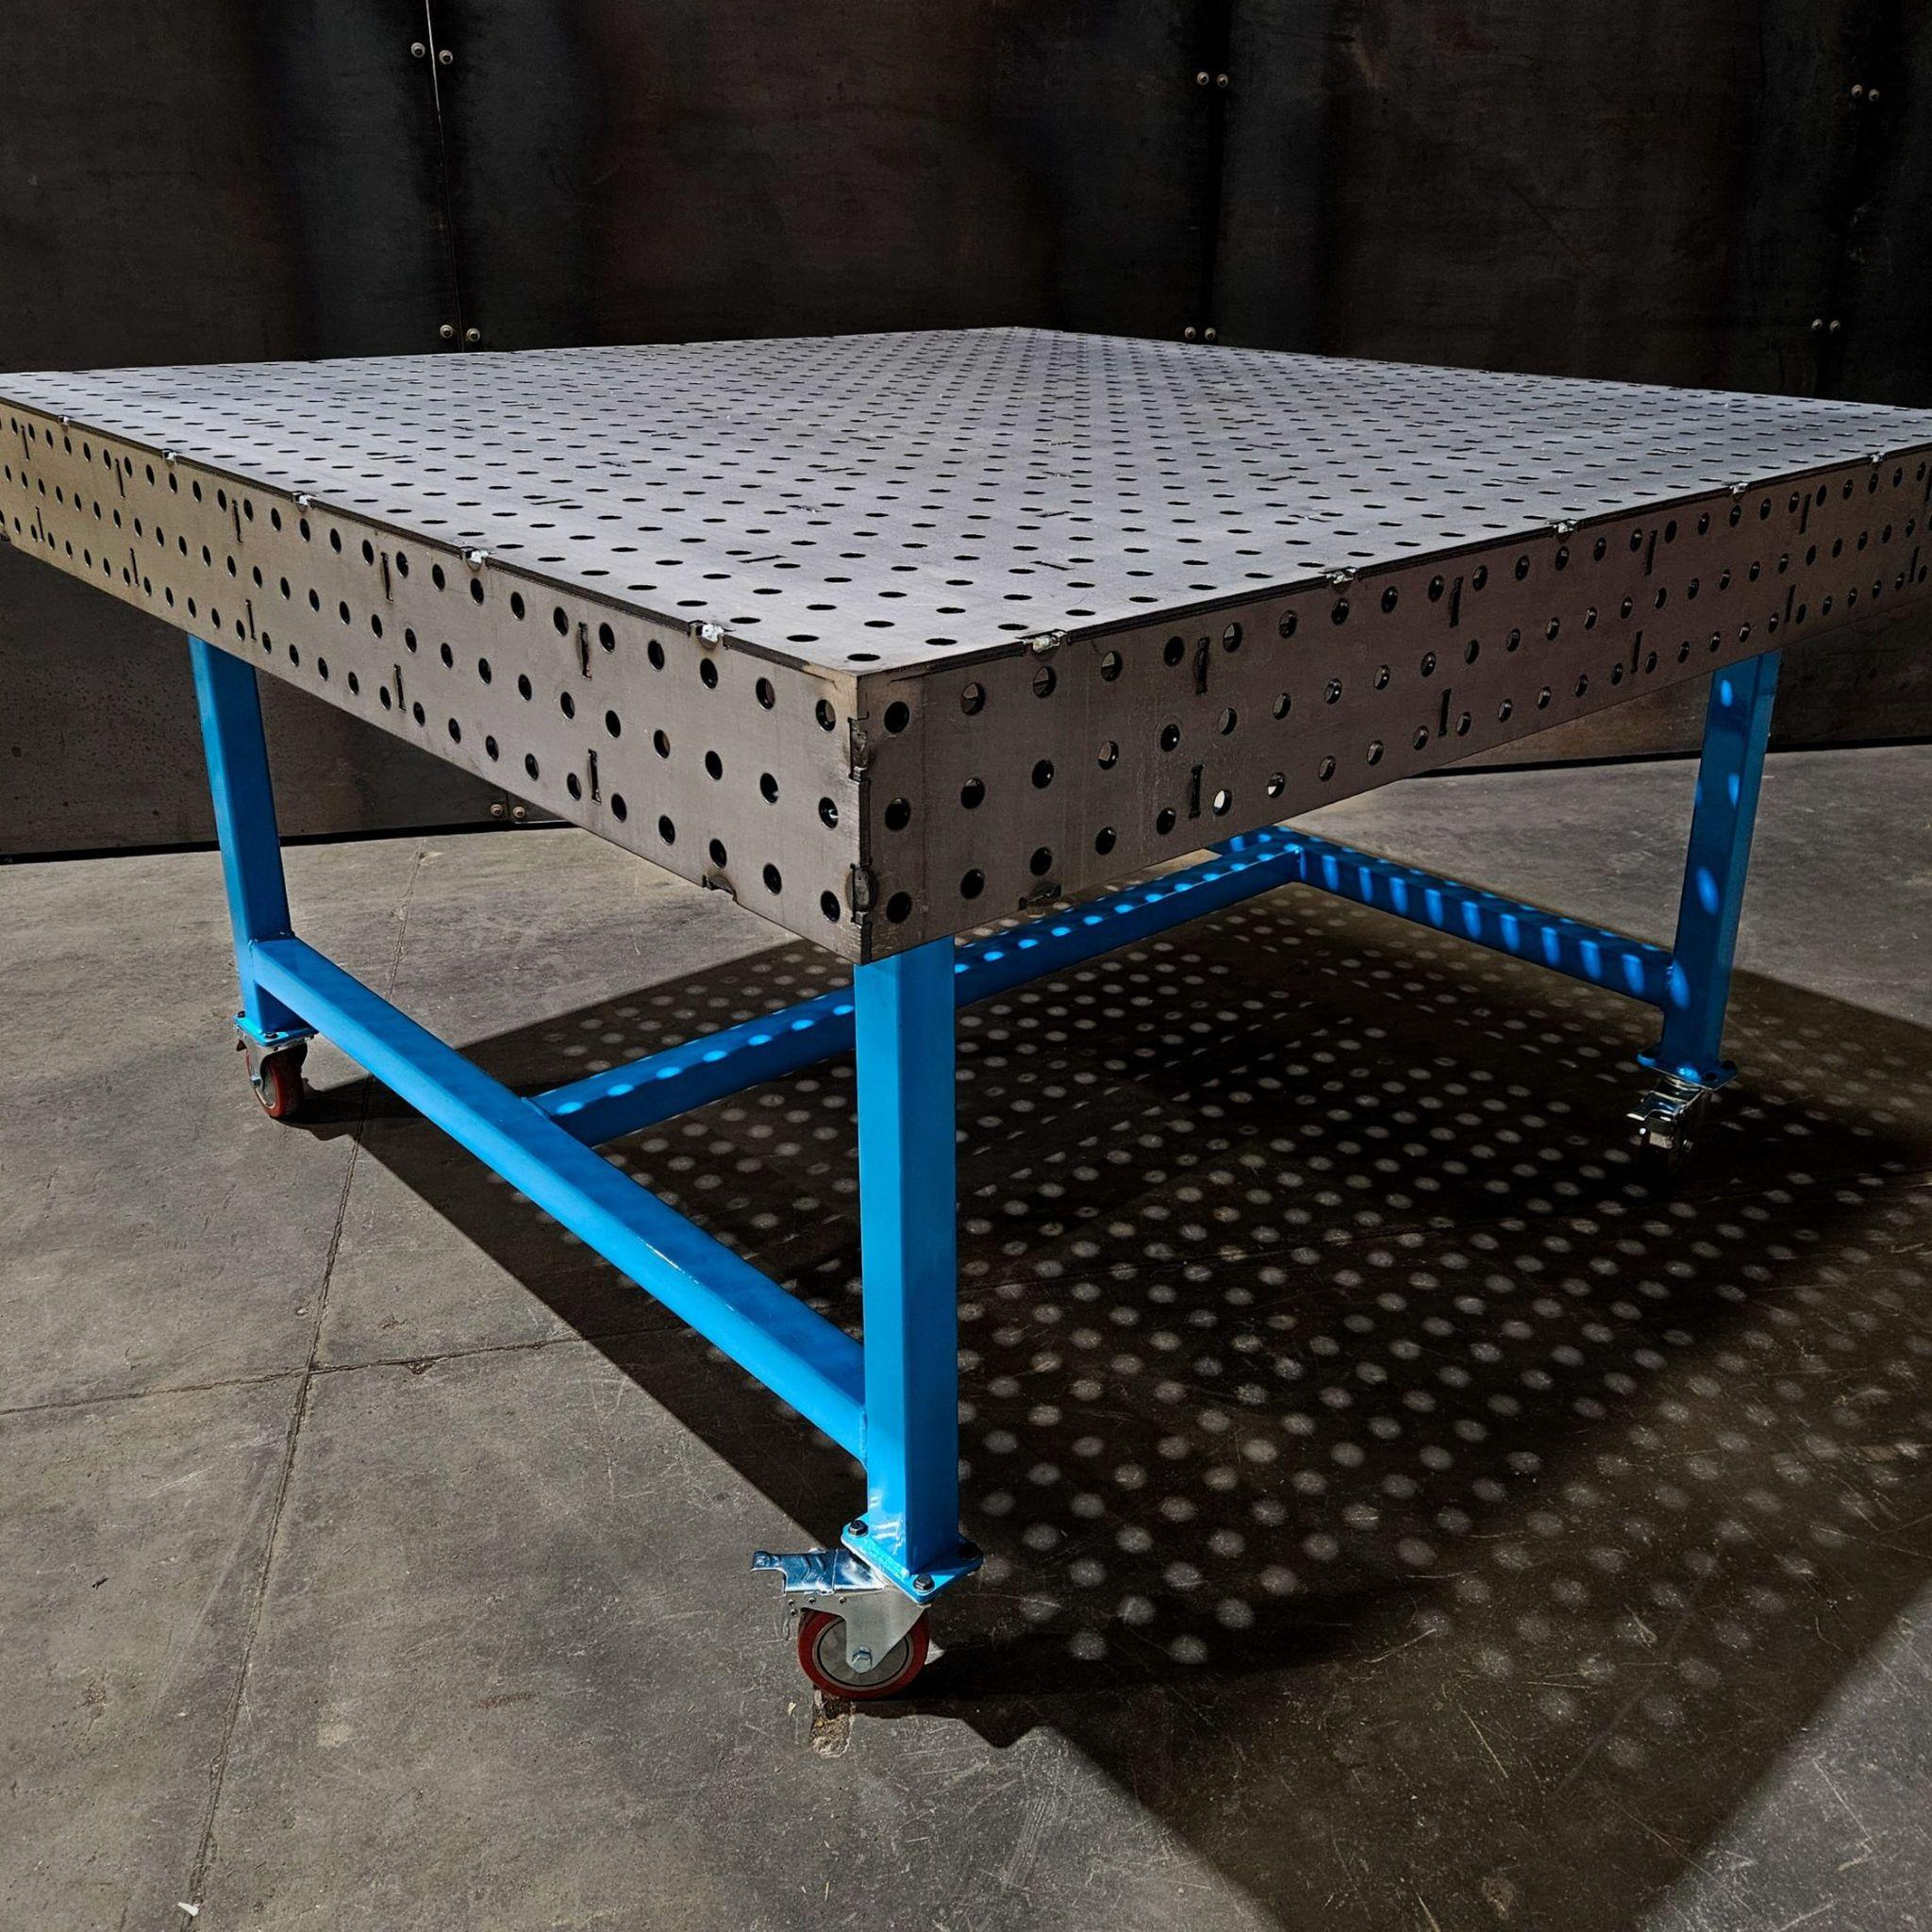
You can often spot mobile tables in shared garages. The mobile welding table is a design that includes heavy-duty locking wheels. It offers easy movement and flexibility in setting up your welding workbench. This makes it suitable for small garages. So, you can weld outside when you feel like it and roll the table back indoors when you are done.
● Heavy-Duty Fabrication Table
If your welding project involves working with thick steel, a heavy-duty table is the right design for you. Such tables come with a thick tabletop and reinforced frame. These are also equipped with additional features to increase the load-bearing capacity. So, if you are welding, building trailer frames or agricultural equipment, you need a heavy-duty welding table that comes with extra strength.
● Modular Welding Table
There are some welders who build welding tables that they can expand later on. So, when a large project arises, they can connect additional sections to the design. This flexibility allows them to keep the workspace compact most of the time while still being well-equipped to handle oversized jobs when the need arises.
● Multi-Purpose Welding Workbench
If you are a hobbyist, you would want your DIY welding table to perform several different functions. Hence, a multi-purpose welding table is the one you need. Such tables often include woodworking surface inserts, vise stations, storage cabinets, and even grinder stands. By doing so, you can get maximum value despite your workshop being small.
| Design Type | Best For | Main Benefit | Space Requirement |
|---|---|---|---|
| Basic Flat-Top | Beginners | Simple and affordable | Small-Medium |
| Mobile Table | Small garages | Easy movement | Small |
| Heavy-Duty Fabrication | Industrial projects | High load capacity | Large |
| Modular Table | Growing workshops | Expandable design | Medium |
| Multi-Purpose Workbench | Hobbyists | Multiple functions | Medium |
Step-by-Step Guide to Building a Welding Table
Building a DIY welding table at home isn’t a complicated task. All you need to do is approach it in a systematic way. Let’s understand the entire process in simple steps:
Step 1: Determine the Table Size
To select the size of the table, you need to analyse the projects you often build.
Common sizes include:
- 2′ x 3′
- 3′ x 4′
- 4′ x 8′
If you are a home welder, a 3′ x 4′ table will work just fine for you. It will offer you sufficient workspace without taking up the entire area of your garage.
Howewer, you must also consider the future projects you might be working on. So, the best choice would be to build a slightly larger table that suits your current needs but also saves you from replacement later on.
Step 2: Create a Simple Drawing
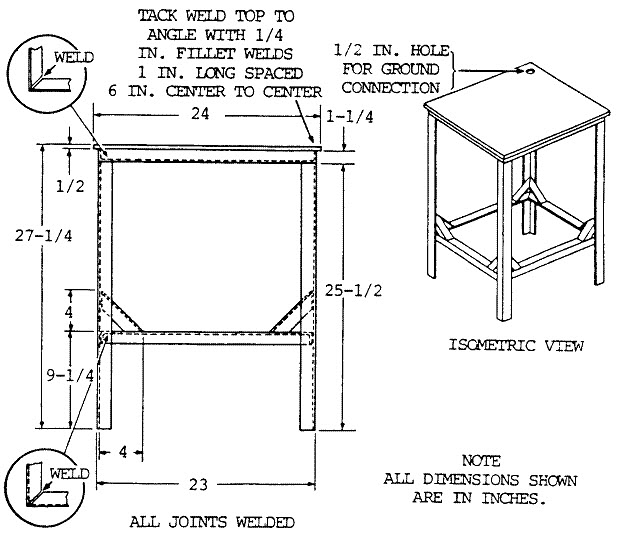
After selecting the right size, you need to sketch the entire design before cutting the steel. No matter how simple your sketch is, it will still help lower the chances of mistakes and save you from wasting materials.
Your sketch must include overall dimensions, leg placement, shelf locations, wheel positions, and even a material list.
Step 3: Cut the Frame Components
It’s time to start working on your sketch. You must cut all the steel tubing according to the lengths you want. Make sure you check the measurements properly before you cut the steel.
This is important because even a small measuring error can lead to major alignment issues later on. It can be very difficult to fix. This is the reason why welding experts recommend the rule “measure twice, cut once”.
Step 4: Build the Outer Frame
The first thing to put together should be the frame. You need to lay the frame components on a flat surface. Things you will be using include welding squares, clamps, and tape measures.
When building the frame, make sure you check the diagonals to make sure the frame is in a square shape. If one diagonal has a different measurement from the other, then you need to make adjustments. After adjustments are done, you can weld permanently.
Step 5: Add Cross Bracing
You can add cross-bracing to help increase the rigidity of the table. If a thick steel top isn’t well supported, its flatness will develop issues as time passes.
If you are making a medium-sized table, spacing will be able to support every 12–18 inches. This will give your table excellent structural stability.
Step 6: Tack Weld Before Final Welding
You must remember not to weld the components fully almost immediately. If you do so, alignment problems can occur.
The best way is to carry out tack welds. Recheck your measurements, confirm the squareness, and then perform the final welds.
With this simple approach, you can easily prevent mistakes that might have cost you a lot of money later on.
Step 7: Control Heat Distortion
When welding the table, you should be careful with the heat. If you add too much heat, the metal can wrap. To prevent distortion, it is better to alternate weld locations.
You can also use shorter weld passes and give the metal a cooling period from time to time. This will help you avoid concentrating heat in one location. By balancing heat, you can produce good welding outcomes.
Step 8: Install the Tabletop
When the frame is completed, you can put the steel plate on it. Make sure you have clamped it securely. Check all the edges to see if they are properly aligned.
You must give this stage adequate time before completing the welding process. The tabletop should be perfect because it determines how enjoyable the finished table will be.
Step 9: Add Functional Features
Once the tabletop is installed, you can customise your table by adding additional functional features.
These upgrades will help enhance the functionality of your DIY welding table.
Below is a list of some common additions welders make:
- Fixture holes
- Tool hooks
- Clamp racks
- Storage shelves
- Vise mounts
Step 10: Final Inspection
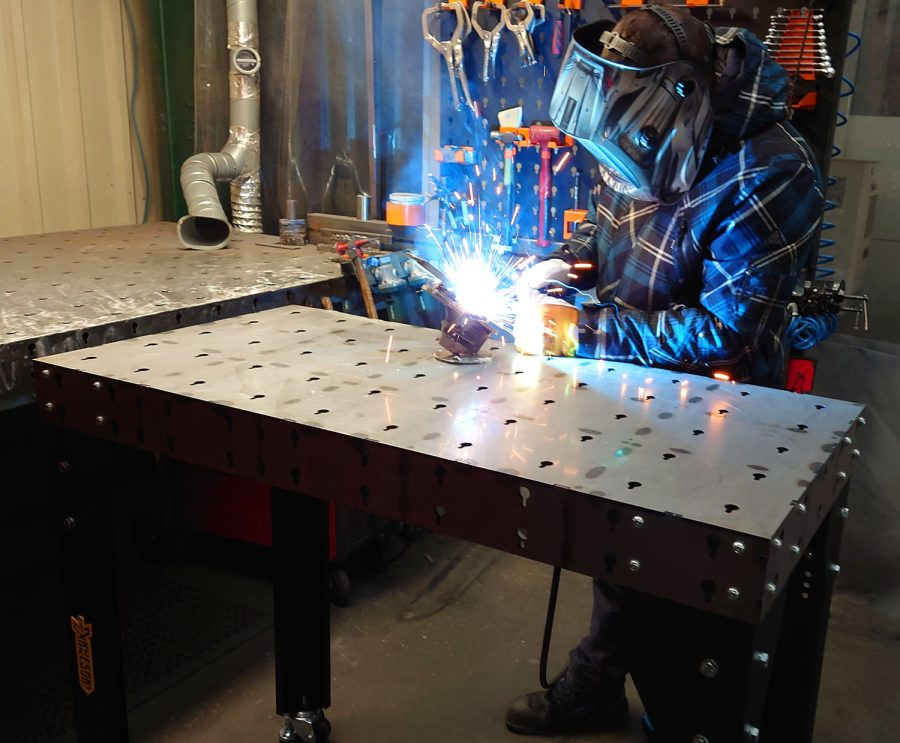
Now, you have completed the construction of your welding table. However, you must carry out necessary inspections before you begin working on it.
You must evaluate the weld quality and frame alignment of the table. Make sure the wheel’s operation is optimal.
The surface must have an appropriate level of flatness. Ensure that there are no defects and distortions. By carefully examining the table, you can identify small issues earlier. This prevents them from becoming bigger problems later on.
Advantages and Disadvantages of DIY Welding Table
If you build your own welding table at home, you can enjoy many benefits. However, there are certain limitations as well. Let’s have a look at both pros and cons.
Advantages
Below are the most common advantages you can enjoy if you make your own home built welding table.
1. Cost Savings
If you build at home, you can save a lot of money compared to buying from the store. This is the biggest advantage, as the money you end up saving can be invested somewhere else. You can get better quality clamps or even some additional workshop tools.
2. Complete Customization
By building the table all by yourself, you are able to tweak each and every detail according to your liking. Every dimension and feature is under your control. It helps you manage your workflow the way you want.
3. Learning Experience
By building your own table, you improve your welding skills. It helps you practice the way you measure, cut, square, and weld. Many welders have shared that building a welding table at home is one of the most valuable learning projects.
4. Pride of Ownership
There is always something very special about using the equipment that you built yourself. It feels very satisfying when you are able to utilise it for different projects. You get to share how your welding workbench is a proof of your own skill and creativity.
Disadvantages
Below are the most common disadvantages that you will face if you construct a home built welding table.
1. Time Investment
You need to put in a lot of effort in order to design and build a welding table properly. It usually requires one to spend several weekends locked up in the garage to finish the project. This can become exhausting for many welders.
2. Material Costs Can Add Up
Steel’s price often faces cost fluctuations. If you want to build a larger table, you will need a bigger budget to buy the required materials. So, many welders can’t build a welding table at home because they don’t have the budget for it.
3. Precision Challenges
Professionally, welding tables are built to ensure exceptional flatness. They are designed to ensure that everything about them is perfect. However, building a homemade welding table that can match the same level of precision is difficult.
4. Mistakes Can Be Expensive
If you incorrectly measure or plan poorly, you might end up wasting a lot of valuable material. While careful preparations can help lower this risk, mistakes are often inevitable, especially if you are not experienced in welding. These mistakes can be quite expensive to bear.
When Should You Upgrade to a Professional Welding Table?
When you become experienced, you no longer do basic welding projects. So, your welding needs outgrow your basic DIY welding table. Below are some reasons why you should upgrade to a professional welding table.
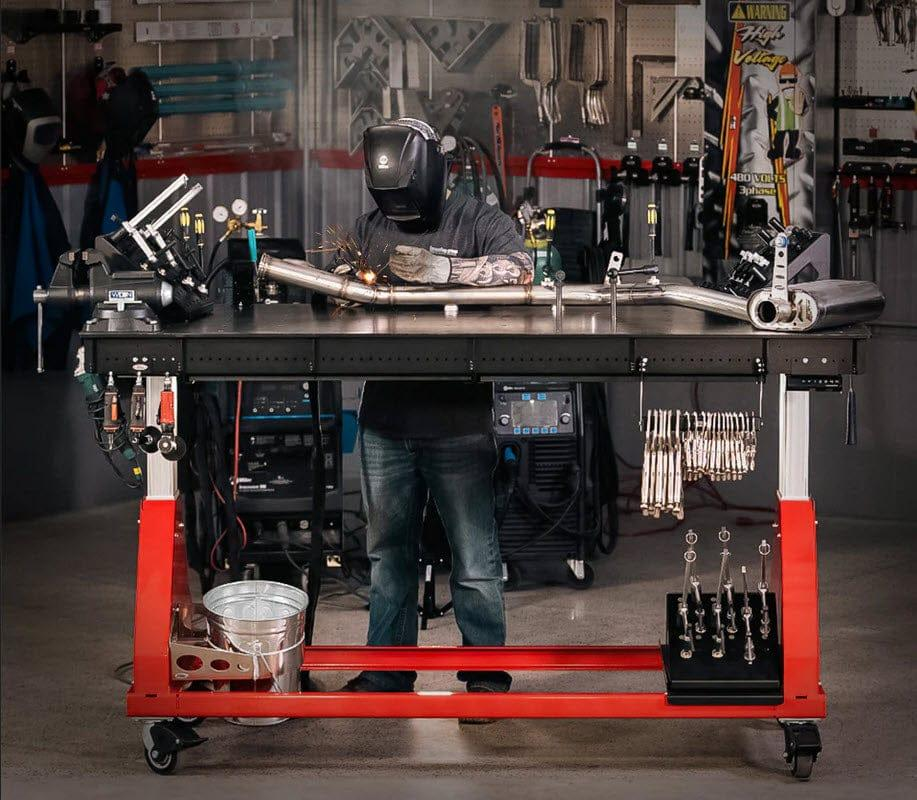
● You Need Higher Precision
When you carry out professional welding, you need repeatable setups, tight tolerances, and fixture systems. For this, you require a professional table that can simplify these tasks for you.
For instance, if you are manufacturing many identical brackets, standardized fixturing can make the task easier.
● You’re Running a Fabrication Business
When welding is no longer a hobby but a business, efficiency becomes important. A professional table will help improve your accuracy, production speed, and consistency.
This will generate more income for you. So, over time, these benefits will justify the investment.
● Larger Projects Become Routine
If you weld large projects very often, you need a professional welding table. Such projects include Structural steel, Trailers, Industrial equipment, and Production assemblies. The professional tables are better equipped to support your workload.
● You Need Advanced Clamping Options
The professional tables are designed to have integrated systems. These make it easier and quicker for it to be set up and repositioned. So, if you are handling many different welding tasks every day, this integration would prove to be valuable.
● Your Existing Table Limits Productivity
If you have to modify your welding projects because your tables don’t suit them, you might want to upgrade. There are many occurrences when the DIY welding table is too small or lacks features. So, to ensure that your equipment supports your work and doesn’t restrict it, a professional welding table becomes a necessity.
| Feature | DIY Welding Table | Professional Welding Table |
|---|---|---|
| Initial Cost | Lower | Higher |
| Customization | Fully customizable | Limited customization |
| Precision | Good for most projects | High precision |
| Build Time | Requires construction | Ready to use |
| Clamping System | Basic to moderate | Advanced fixture systems |
| Best For | Hobbyists & Home shops | Fabrication businesses |
Conclusion
A DIY welding table is considered a very smart investment for a workshop at home. It offers you a surface that is stable and heat-resistant, ideal for your welding projects.
The table not only improves your weld quality but also increases workplace safety. Just by building yourself a homemade welding table, you can make welding an enjoyable process.
You just have to select the right table design and add the features that complement the type of projects you carry out. With good quality materials, proper support, and careful construction, you can build a durable DIY welding table. It’s a cheaper alternative that will stay reliable for many years.
Frequently Asked Questions
1. What is the ideal thickness for a DIY welding table?
A: The best thickness for a welding table to be used at home is 3/8-inch steel. For heavy-duty welding, a 1/2-inch top would be more suitable.
2. Is a wooden bench suitable for welding?
A: No, a wooden bench is not suitable for direct welding because it creates an unsafe workspace. The sparks, heat, and molten metal can cause damage to the bench and increase the risk of fire.
3. Can I add wheels to my welding table?
A: Yes, you can add wheels to your welding table to make it mobile. It is recommended to use heavy-duty locking casters that can withstand the weight of the table and workpieces.
4. How many years can a homemade welding table last?
A: A DIY welding table built appropriately from high-quality steel can serve well for decades. It does demand regular cleaning, maintenance, and surface care.
Recommend Reading
3D Welding Table – SENLISWELD
2D Welding Table – SENLISWELD
Welding Table Clamp – SENLISWELD


 EN
 ES
 RU
 JA
 FR
 PT